
So I got myself a set of the new chrome-tipped Mk6 switches - both the window and the mirror switch, and set out to replace them. Here's how I did it.
First, start out at the front of the panel. I basically worked with my bare hands.
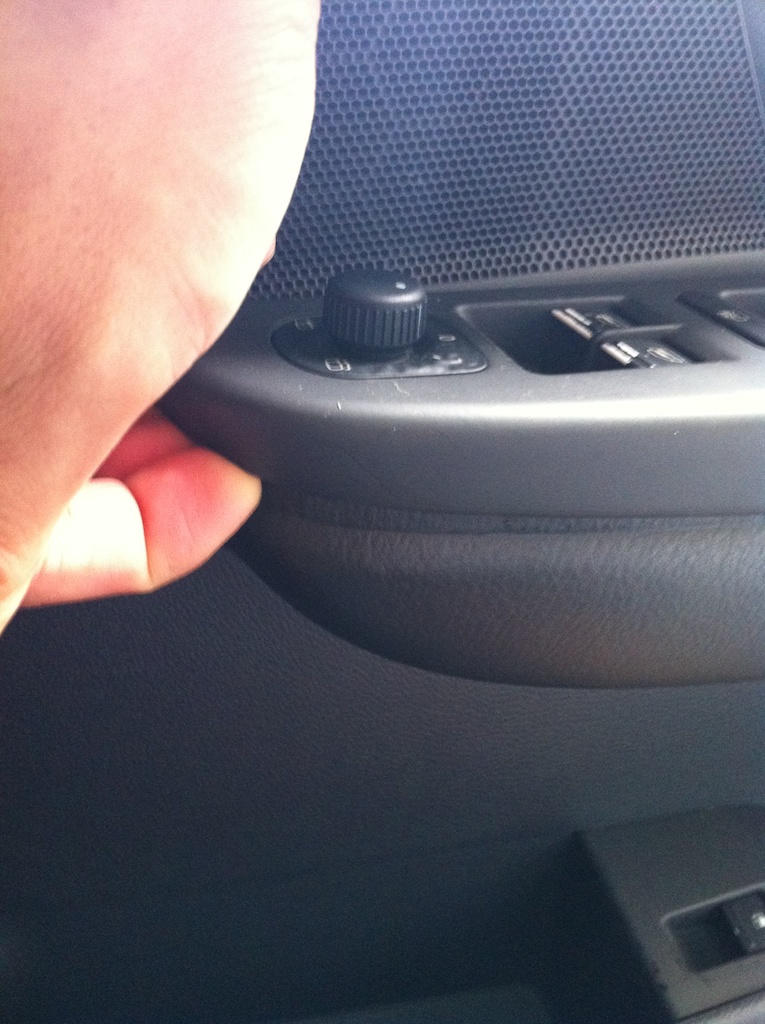
The panel is basically held on by clips below (in typical VW fashion) and you just need pull it upwards, working from the front to the back. Eventually, you should get it looking like this.

After you have yanked it out, you will see the two connectors (see photo below). You will also notice the shiny metal clips on both edges of the panel, which is what's holding it down. If you don't see the metal clips - look for them, they might have fallen out when you yanked the panel up. You'd want to place them back in their slots.
Next, release the switch connectors. Be gentle when releasing the connecters - look for the tabs to release the connectors and wiggle it slowly out.
Also, to get the switches out, what worked for me was to push down on the switches out from the top of the panel (just like you would push down on the switch when opening your windows), and I used a little interior plastic trim tool to 'release' the tabs on the edge of the switch. Using the window switch section as an example in the picture below - you can see the three 'slots' where the tabs on the switch are held.

Now with the connectors removed, you can have a better look at the exact locations of the metal clips. Note all the plastic tabs - hence you'd want to pull the panel perpendicularly UP, otherwise, you might shear or bend some of those plastic bits if you yank it out at an angle.

Here's the part number of the panel that the switches fit into - 1K4 868 050B. This is for the right, driver's side, on a right hand drive VW Golf Mk5. The surface of this panel hasn't gotten sticky yet and I'll decide to remove all the sticky rubber coating or just replace the panel when the stickiness starts.

Now can you tell which is the new switch?


Putting it back is just the reverse. Much easier than taking it out as you should have a better idea of where the clips that hold this panel in place are. So you should have some new shiny switches like this!

And for the passenger's side (left side), it's the bottom panel that you need to work on. Unfortunately, I didn't get the chance to take much photos, but the important thing to note is that you should try to pull that panel perpendicularly towards you - as in towards the handbrake/middle of the car as there are some plastic tabs behind that could be bent/broken if you try to yank it out at other angles.


